
Backpacking Lessons I Learned On a Guided Yellowstone Trip
Purchases made through some links on this page may provide The Detour Effect with commissions (at no extra cost to you). Thank you!

I’ve just returned from a 5-day guided backpacking trip in Yellowstone National Park with Wildland Trekking. While I thought I knew a lot, I am grateful I had the opportunity to ask advice from a real pro. A professional guide has all of the necessary Wilderness First Responder, Wilderness First Aid, and Leave No Trace certifications, plus years of experience leading trips in the backcountry in varied terrain and weather conditions. They’ve also had to problem-solve all manner of issues when it comes to gear failure and other unexpected hiccups on the trail (No, Wildland did not ask me to write this post).
I have backpacked and day hiked in many locations around the world, but much of what I know about hiking and backpacking has been gained through trial and error, and I’m almost always solo. Over the years I learned what gear and strategies work for me by trying the “wrong” thing and then self-correcting, and I have spent a lot of time researching online and observing other hikers. Working jobs in the outdoor industry later schooled me about best practices, too. Still, on my guided Yellowstone backpacking trip I realized I had gaps in my technical knowledge and I was retaining some bad habits. I also learned useful facts about hiking in Yellowstone’s backcountry specifically.
Don’t Sleep with Your Backpack in Your Tent, Even if it’s Empty

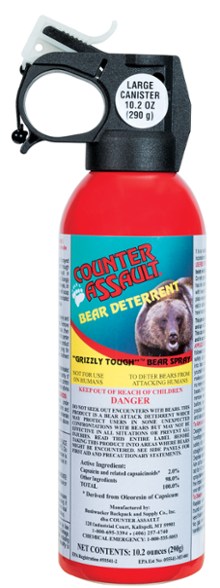
Prior to this trip I carried bear spray on day hikes in the North Cascades, Grand Teton, Yellowstone, Big Bend, and the Smoky Mountains, but most of my overnight backpacking trips have been in the Southwest deserts (mountain lions are not interested in human food) or in European countries where predators are not an issue. I’ve never had to get serious about grizzly precautions.
I know the Leave No Trace principles, including that it’s important to cook food, store food, and bury waste at least 200 feet away from where you’re sleeping. All of these things, and your tent setup, should also be at least 200 feet away from water sources. Of these rules, the one I’ve been lax about is not keeping scented items in my tent. I pack smellables in a zipped baggie, but especially in Europe it doesn’t seem necessary to store them 200 feet away. In the American Southwest I do follow the food rule if it’s a black bear habitat or if I’m concerned about rodents taking an interest in my tent.
However, after moving scented items away from my tent, I’ve been stuffing my empty backpack full of clothes and using it as a pillow.
Our guide in Yellowstone was adamant that we keep our backpacks far away from the tent area even after our scented items had been removed and hung up in the bear hang. Backpacks house scented items all day before you get to camp; I imagine they pick up scents through osmosis. There could also be stray crumbs, or there’s always a chance you’ve forgotten chapstick or something in a backpack pocket.

Each backcountry campsite in Yellowstone is divided into a few sections: the tent area, the bear hang, and the “kitchen”. Each of these three locations is separated from the others by a large distance. The kitchen usually has conveniently placed logs to sit on and it may have a fire ring (only some campsites in Yellowstone allow fires). This is where our group would hang out in the late afternoons when it was too early to go to bed. It’s also where our guide cooked backcountry meals for us and where we left our backpacks overnight.
Our first order of business when we got to camp was to set up our tents. We’d pull our tents, sleeping bags, and sleeping pads out of our backpacks and carry them over to the tent area, leaving the backpacks behind at the kitchen. If we wanted anything else to be transferred from our backpacks to our tents, such as clothes or a headlamp, we’d need to carry things back and forth.
Being unused to this method of bear awareness, I found it annoying at first because it’s so much easier to have your backpack right next to or inside your tent. I kept forgetting items in my backpack and not realizing I needed them until it was dark outside and I was already zipped into my sleeping bag, like my glasses. I quickly adapted though, and simply had to plan better in advance. The multiple trips back and forth are a small price to pay so as not to become bear meat!
If you’re worried about rodents gnawing on your backpack, which is one reason people like to bring it into their tents, you could always hang it on a branch. It’s also a good idea to put your pack cover on overnight to keep it safe from the elements, even if it doesn’t look like rain is imminent.
Don’t Let Extra Shoes Dangle From the Back of Your Pack
When stopping to take off my hiking shoes and switch into water shoes for a creek crossing, I often tie my hiking shoes together by the shoelaces and then clip them with a carabiner to the outside of my backpack. They are quite heavy and swing around back there, shifting the weight of my backpack. I noticed that letting them hang freely down like this could sometimes throw off my balance, but I hadn’t thought of any better way to go about it.
On this trip I learned a handful of different strategies. One easy method is to just hang the shoes around your neck and let them dangle in front of your chest, if it’s a quick crossing. Another idea, if your backpack has a “brain” or a top lid, is to put the shoes on top of (not inside) your closed pack but underneath the brain. You’ll buckle the brain closed over the shoes, loosening the straps a bit so it fits.
Once you cross the river and put your regular hiking shoes back on, now you’ve got wet water shoes or sandals that you don’t want to put back inside the pack lest they dampen everything else. You could put them under the brain like in the last example. Or, if you attach them to the outside with a carabiner, since sandals are thinner than hiking shoes you can probably also secure them by tucking the sandals beneath any outer backpack straps so they don’t swing around. If your backpack has an outer mesh pocket, then the easiest thing is to tuck your sandals into that pocket.
Cross Fast Rivers Sideways
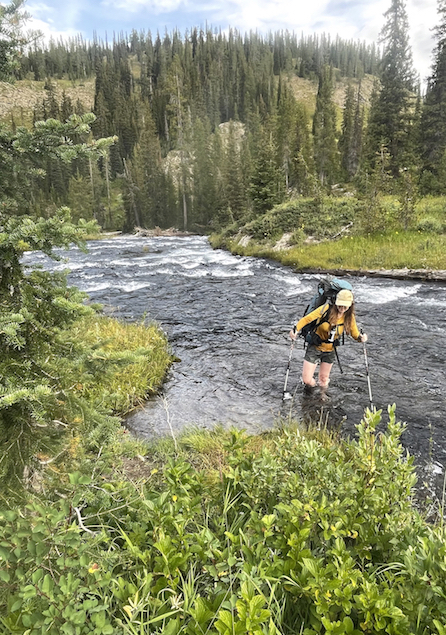
I have done some very benign creek crossings in the past, but this Yellowstone backpacking trip was the first time I had to cross rivers that are waist-high! Most of them had calm water so I just took them one step at a time and steadied myself with trekking poles, but one river was particularly swift with lots of slippery rocks. I couldn’t find my footing, slipped, and awkwardly sat down in the river! Thankfully the current wasn’t strong enough to sweep me away.
Our guide demonstrated how it’s best to shuffle walk sideways through water crossings when the water is moving particularly fast. Face upstream instead of towards the opposite bank and be sure to never criss-cross one foot over the other.
The National Park Service and Pacific Crest Trail Association have some great information about best practices for safe river crossings.
A year later I successfully forded four freezing river crossings and one especially deep bog crossing on the Arctic Circle Trail in Greenland without incident!
Lengthen Both Sections of Your Trekking Poles

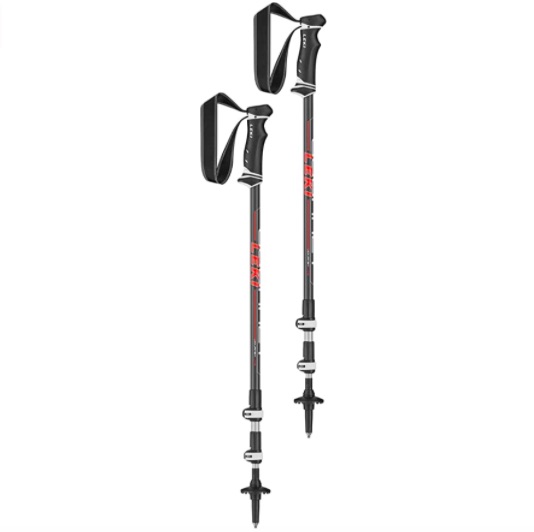
Trekking poles typically have two different adjustable sections. I have always lengthened the upper section of my Leki Journey Lite trekking poles to the highest measurement of 135, and then I didn’t bother lengthening the lower section at all. I thought the second section was for tall people.
Our guide said it’s important to lengthen both sections to prevent breakage; I never knew that! From here on out I will adjust the top section to 110 and the bottom section to 110 (I am 5’5”).
Ideally the two sections will be equal lengths, and you want to find whichever numbers will allow you to hold the poles with your elbows at a 90 degree right angle.
Some Backpacks Have an Adjustable Torso Length
I have owned an Osprey Aura 65L, a Sierra Designs Flex Capacitor 40-60L, a Deuter Trail 28SL Day Pack, and a Lowe Alpine Edge 22L day pack. I don’t think any of these backpacks have had an adjustable torso length the way the packs provided by Wildland do. I always figured you could achieve the desired effect by adjusting the shoulder straps and hipbelt, but for larger trekking packs I see the benefit of adjusting the torso length too.
We used Deuter Expedition 80L+10SL backpacks for our guided Yellowstone adventure. Along the spine of the backpack that sits directly against your back, this model has a Velcro “VariQuick” system that allows you to choose between four different heights. You can read more about this here and watch a video of how to adjust it here.
It turns out a lot of backpack brands offer models with adjustable torso lengths, not just Deuter! While I love my Flex Capacitor for overnight trips, if I’m ever in the market for a new pack I will be paying attention to this feature.
Dry Bags are Actually Useful
I never bought dry bags or packing cubes for backpacking because I want to shove my clothing and smaller items down into the cracks between larger gear to fill up any empty space. Once you combine and store items together in a container of some kind, you can no longer play Tetris with them.
However, on our guided Yellowstone trip it started raining on the third evening and didn’t stop for 36 hours. I’m glad we had pack covers and that I brought the rain jacket I purchased in Scotland when I hiked the West Highland Way in nonstop rain! I didn’t bring dry bags because I didn’t remember having trouble with keeping things dry inside my pack on past trips, but in retrospect now I do remember that everything inside the pack did take on a moldy smell. While not totally soaked through, the inside of the pack can get a bit…clammy.
One hiker on our Yellowstone trip brought dry bags and therefore managed to maintain some dignity. He inspired me to look into that for future trips. The clothes I wanted to keep dry for nighttime did stay mostly dry, but I think if the trip and rain had lasted any longer, pretty soon I would have struggled to keep my wet clothes from mixing with my dry clothes and everything in the pack would have become pretty swampy. Being cold at night because you’re out of dry clothes is bad news.
He also brought a waterproof cell phone pouch that hangs around your neck. You can work the screen without having to take it out of the pouch. This is much better than my strategy of tucking my phone close to my body in an inner rain jacket pocket, where condensation can still accumulate. When I take my phone out to attempt to snap a picture with pruned hands, the screen gets wet immediately and it’s impossible to press buttons.
Soakable Hot Springs Have Safety Criteria


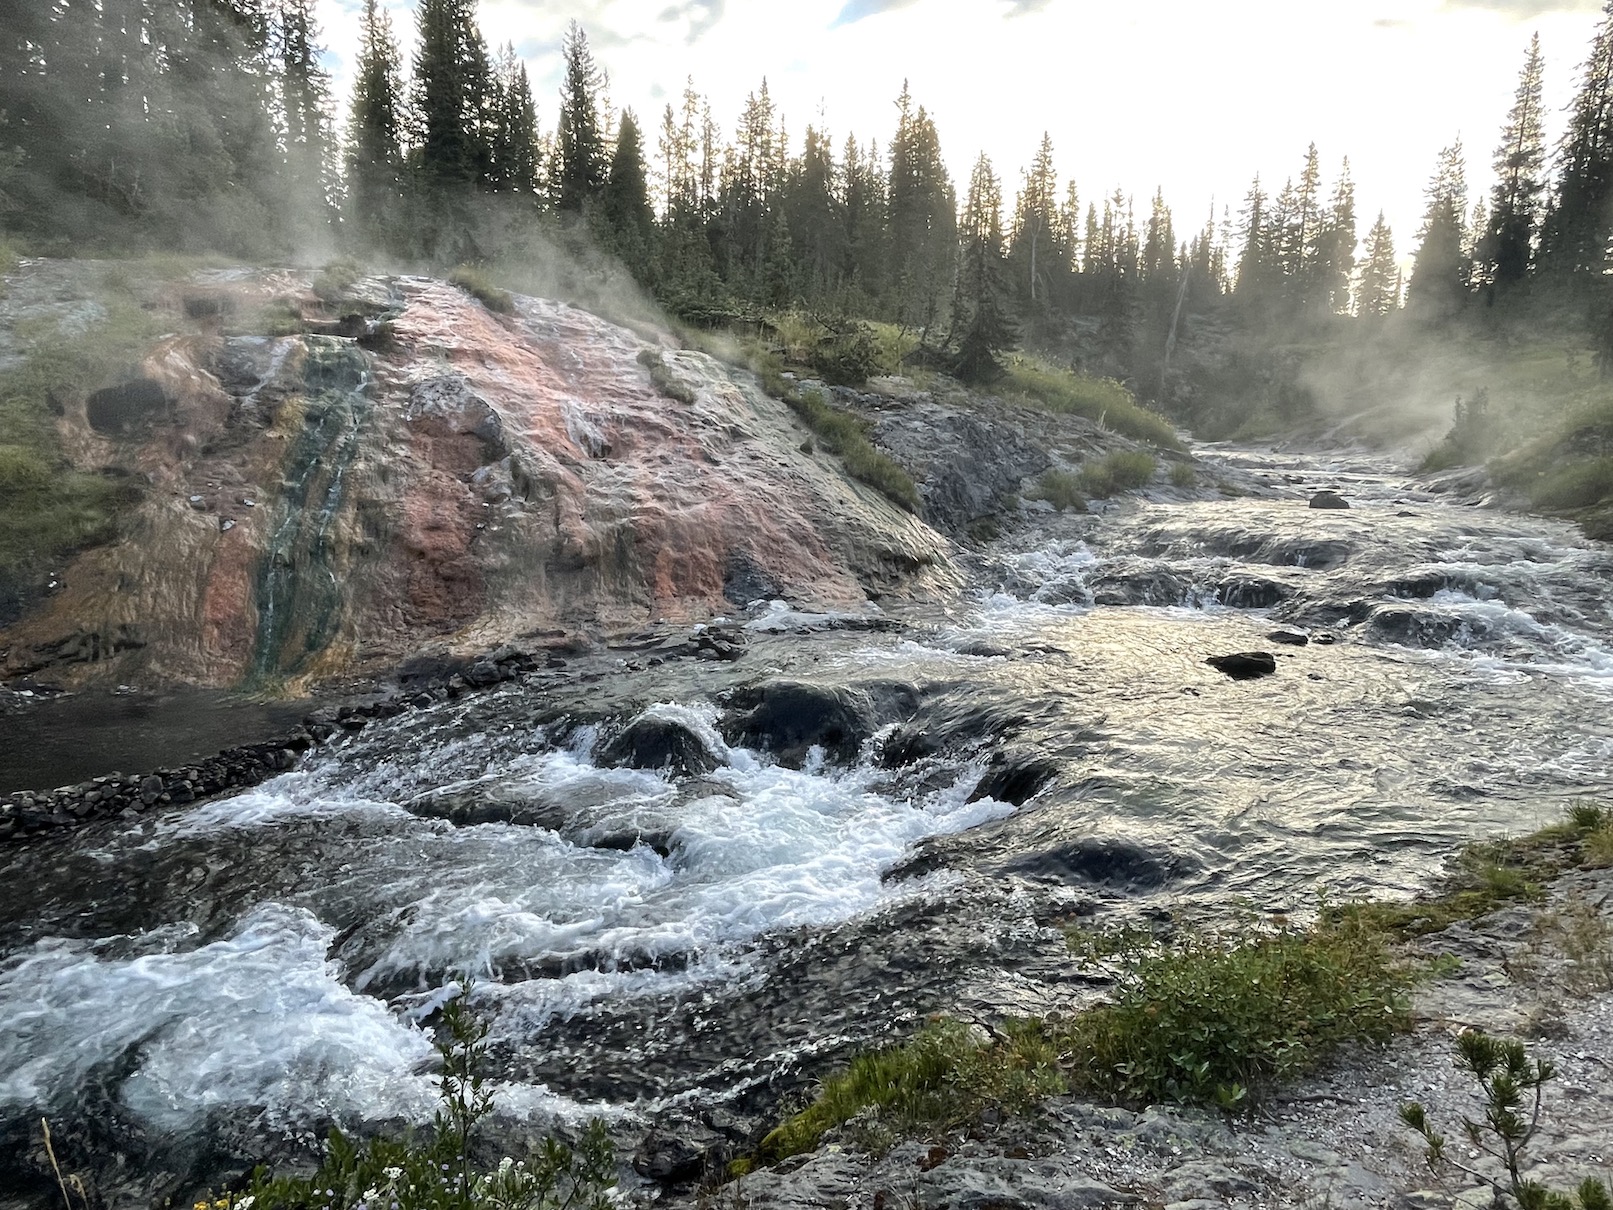
One thing that makes backpacking in Yellowstone unique in comparison to other wilderness areas is the park’s geothermal and water features. Our itinerary included waterfalls, hot springs, and geysers!
For the most part, visitors are not allowed to soak directly in Yellowstone’s hot springs because it would be too dangerous. Most of them are acidic and boiling hot. People have died from accidentally falling into the hot pools in Yellowstone’s geyser basins.
However, there are some beloved backcountry soaking locations in Yellowstone that are safe because technically you are swimming in a river. When a nearby geothermal feature dumps hot water into a cold river, the temperatures mix to create a more hospitable environment. Our itinerary included two of these safe soaking locations, which felt divine after days of hiking, and we even had a third mini hot spring right in one of our campsites! It was like our own private jacuzzi.
Learn How to Secure Tarp Shelters


I have never carried a tarp on any of my hiking trips in the past. I know that thru-hikers often create makeshift sleeping solutions using a tarp because they don’t want to carry the extra weight of a tent, but otherwise I never saw the benefit of having one for my shorter solo trips.
When it started raining on our guided Yellowstone backpacking trip, our guide erected a tarp to protect our cooking station and our backpacks. This also created a hangout spot where we could eat meals and enjoy each other’s company instead of retreating to our tents to hide from the weather. The tarp was the real MVP of our trip! I am a convert and plan to purchase a lightweight tarp for my future trips. She secured it to trees using a Trucker’s Hitch knot (except when there were no trees so she used trekking poles and sticks), so I also want to learn how to tie this knot style.
I chose to join a guided backpacking trip in Yellowstone because I was afraid of solo hiking in grizzly bear country, but I got so much more out of the trip than just assuagement of paranoia. After years of taking a self-taught approach to hiking, the opportunity to learn from a professional backcountry guide and from the other group members really set me straight about optimal techniques and pointed me towards a path of improvement.
Have you ever joined a guided backing adventure? What would influence your choice to go with a guide vs. solo?
🏨 Find budget hostels near Yellowstone here, here, here and here, or standard hotel options in West Yellowstone, Gardiner, or Jackson.
✈️ Coming to Wyoming from further afield? Use an Airalo eSIM for affordable international cell data and don’t forget to protect your investment with travel insurance.
Related:




Pin It:

My dream is to write travel and hiking content full-time. All of my guides and itineraries are free and my travels are self-funded. If you enjoy my site and would like to support, you can donate any amount to my Ko-fi page. Thank you!!
Good advice here. As a hiker/backpacker who mainly travels solo, and frequently off trail, I’ve been staying away from The Park in recent years. I still spend a lot of time in Southwest Montana/Northwest Wyoming/Eastern Idaho and have seen the evidence of an expanding Grizzly population in those areas. Having had a seriously problematic encounter with grizzlies years ago (and more recently with wolves!) I would reiterate that all precautions be taken. For what it’s worth, on the advice of wildlife professionals working in the field I keep a canister of bear spray hanging, not in a holster, but from my packs chest strap AND another easily accessible. In a worst case scenario you will only have time to unlock and squeeze the trigger on the spray while it’s still hanging from the chest strap. The other canister is from when it comes back…
As an aside, I’d suggest the same precautions be taken in Black Bear areas. What I’m hearing from others is that they’ve become increasingly aggressive and persistent on the trail and frequently used campsites.
Oh wow I’d love to hear your grizzly/wolf encounter stories sometime! I really, REALLY don’t want to see a grizzly, I think I would panic.
So you carry two sprays? Are they the smaller size? The ones I have are so massive, I’m not sure I can bring myself to carry two but it’s something to think about. I usually like to hook it onto my hip somehow, but depending on which backpack I’m using, sometimes it’s not easy to thread the strap through the spray holster, so I’ve had to wear the spray at my chest a few times. As a girl I kind of hate that though, it swings around and hits me in the chest lol.
These are great tips and lessons learned, Claire! Thank you for sharing! I’ll admit that in northern Minnesota I do sleep with my pack in my tent but put all scented items in my bear bag far from camp. I guess black bears are lower risk than grizzlies but good to know for when I inevitably camp again in grizzly country.
Yeah I feel like I probably still won’t do the backpack thing EVERY time, depending on location, but I will start doing it much more often! And definitely in grizzly country for sure.
These are all great tips. Sounds like you had an awesome time in Yellowstone despite the rain.
Creek crossings are no joke and getting even thigh deep is serious, let alone waist deep. I hadn’t thought of tucking my boots into the top of my pack – that seems like a good approach. I’ve had them swing around too much when tied onto my pack and had them hit me in the face when around my neck. For small creeks we usually chuck them across, but that definitely has its risks and nearly went wrong for me on one trip…!
When it comes to storing your pack away from your tent, there’s no doubt that in serious grizzly territory like Yellowstone this is a no-brainer. Naturally, a guiding company is worried about liability but it’s a good way to drive home the point that you don’t want anything scented near where you sleep. I’ve made this point many times to hikers (and backpackers) and I’ve had so many “I didn’t know that” (or worse, blank) reactions it’s a bit scary.
I suspect the rule stems from times when people actually did cook meals in the backcountry. These days I can’t see how rehydrating a packet meal will make my clothes or my gear smell of that food (unless I spill it on me – which has happened…). However, as you said on Twitter, there’s always a chapstick lurking somewhere! I’ve forgotten sunscreen, sanitizer, and a Clif bar wrapper or two before. We’ve camped in grizzly country many times (Canadian Rockies, some parts of the BC Coast Mountains) and thankfully haven’t had any issues so far, and we are very strict with how far away we eat and store our food.
We don’t use dry bags but we do have Silnylon stuff- and compression sacks for our gear. Much lighter than dry bags though maybe not as tough or versatile. However, I do find it annoying how they become odd-shaped bricks when compressed which leaves a ton of gaps that can’t be filled by all the other brick-shaped lumps to go into my pack! I haven’t found a solution to that…
Thanks Andy! I love bouncing ideas off of other hikers because sometimes I’m not sure if I’m the only one who’d been doing things a weird way or if that’s how everyone does it lol. I’m glad to hear these tips/lessons seem valid from your perspective and you’ve grappled with some of the same issues.
I have such a terrible throw, I’m laughing at the visual of me trying to chuck my shoes across a creek haha. Probably best that that never occurred to me before!
Yeah I really don’t want to mess around or take any shortcuts when it comes to grizzlies. Even if certain steps can feel like overkill, my feeling is that it’s such little effort compared to the possible consequences. That’s encouraging that you’ve never had a problem despite how often you hike in bear territory, the precautions must really work! Are there overnight trails you won’t do solo because they’re griz habitat? Park Service is always saying hike in parties of at least 3+ which is alarming, but if taking the proper precautions is going to be equally successful for me solo as it was in this group, then I might summon the confidence.
Yeah it does seem like a pick-your-poison situation with dry bags. Maybe just packing one outfit in a dry bag is all that’s needed, as an emergency precaution in case you get way too wet and cold and really need dry clothes at night. Otherwise it’s not so bad to embrace the dampness if everything else is kept outside of dry bags for the purpose of more convenient packing. Best case scenario there’s eventually a sunny day where some things can dry out, if we’re lucky!