
Don’t Make This Mistake on Chesler Park Trail in Canyonlands
Purchases made through some links on this page may provide The Detour Effect with commissions (at no extra cost to you). Thank you!
This day hike trail report for Chesler Park Viewpoint in Canyonlands National Park in Utah is a cautionary tale about taking maps too literally.
This month I am working remotely while living in my car and basing myself near Moab, Utah. On my off days I want to try to hike as many trails as possible in Canyonlands National Park and Arches National Park, so I resolved to stick mostly to moderate difficulty day hikes instead of trying to do anything overly strenuous that will take up a lot of time.
In the Needles district of Canyonlands, one of the hikes I chose was the out-and-back to Chesler Park Viewpoint because it’s listed by the Park Service as a moderate 5.8 mile roundtrip day hike. I downloaded offline maps on GAIA and set out for the long drive from Moab.
I suppose I should have done more research in advance by reading other people’s trail reports, but I hike every week and at this point take for granted that I’ll figure things out on my own. In this case I didn’t figure it out until it was too late and I missed a really interesting part of the trail. While I was returning to the trailhead, two other groups of hikers stopped me to ask advice and seemed to be confused in similar ways, so I’ve decided to write this post as a heads up.
Trail Stats
Mileage: 5.8 miles (if you do it right)
Route Style: Out-and-Back
Location: Needles District of Canyonlands National Park in southeastern Utah
Trailhead: Elephant Hill Trailhead
Fees: Park entrance fee is $30 per vehicle for 7 days of entry, unless you have an Annual Parks Pass
Special Requirements: Four wheel drive
Variations: Chesler Park/Joint Trail Loop is a 10.8 mile variation. Can also connect other trails to see Druid Arch or Devil’s Kitchen.
Remember to check current trail and road conditions on the Canyonlands National Park Alerts and Conditions page before setting out.
Why Choose Chesler Park Trail?
The Needles District
Canyonlands National Park is made up of three districts, including Island in the Sky, The Needles, and The Maze. When strategizing your hiking adventure, you first need to pick a district to focus on. They’re too far away from each other to visit all three in a timely manner.

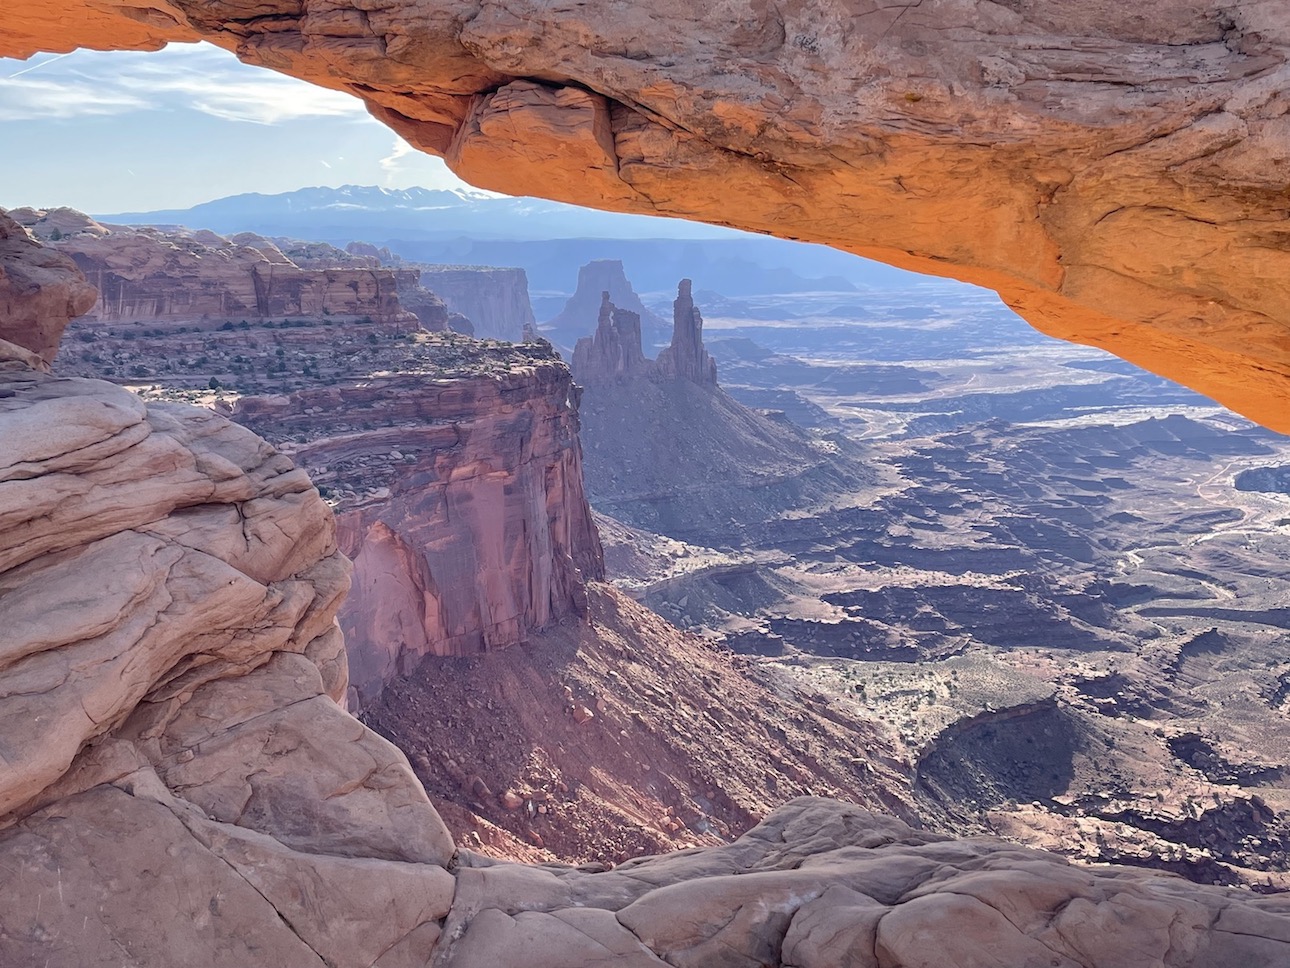
Island in the Sky is the most crowded part of the park and has some of the famous viewpoints you may have heard of, such as Mesa Arch. The Needles is more remote and quiet but areas of it are still quite accessible. The Maze involves a lot of extremely rough off-roading and is not for the faint of heart.
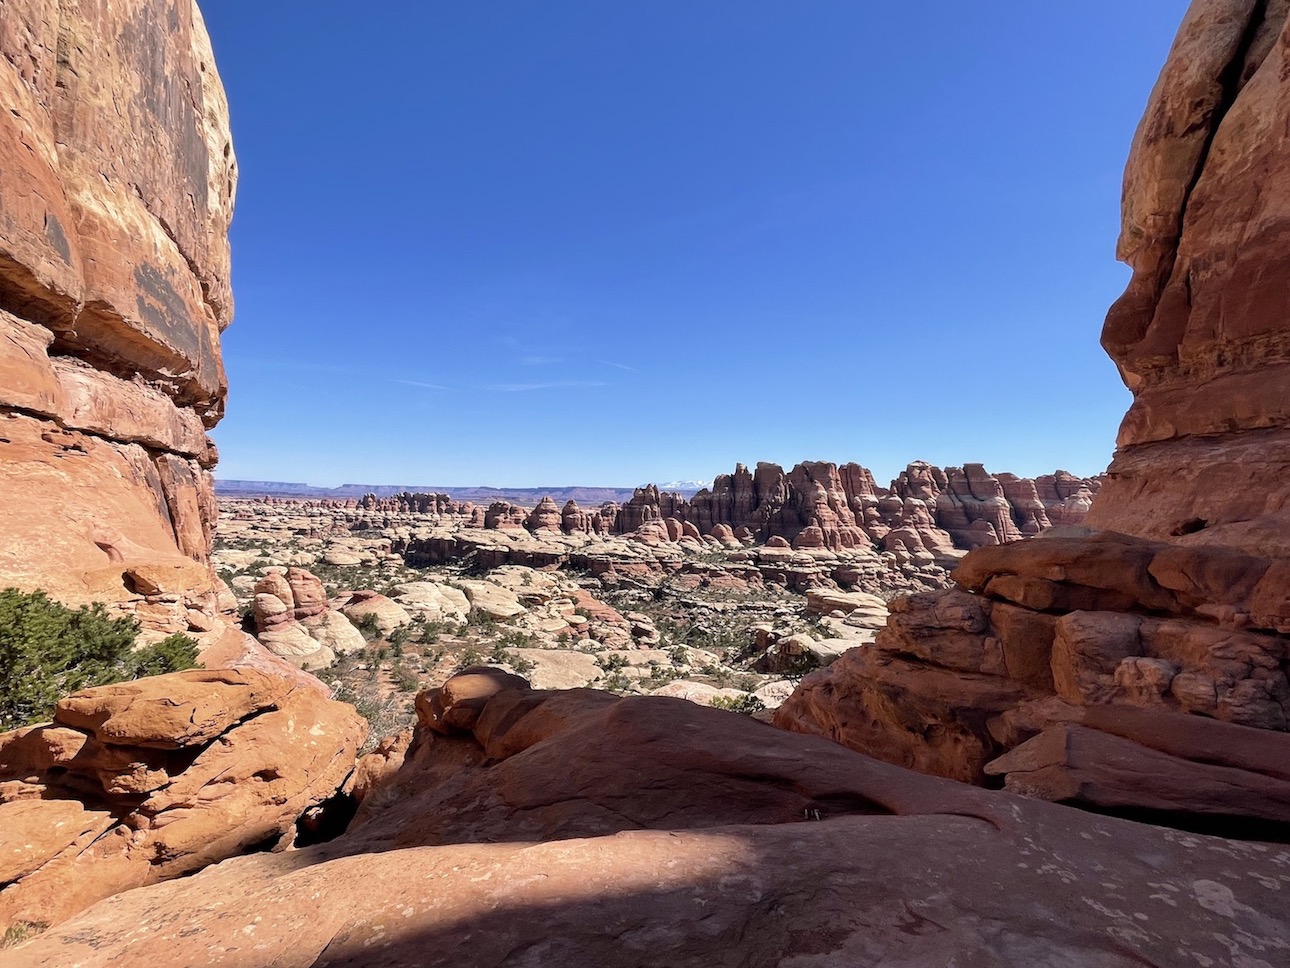
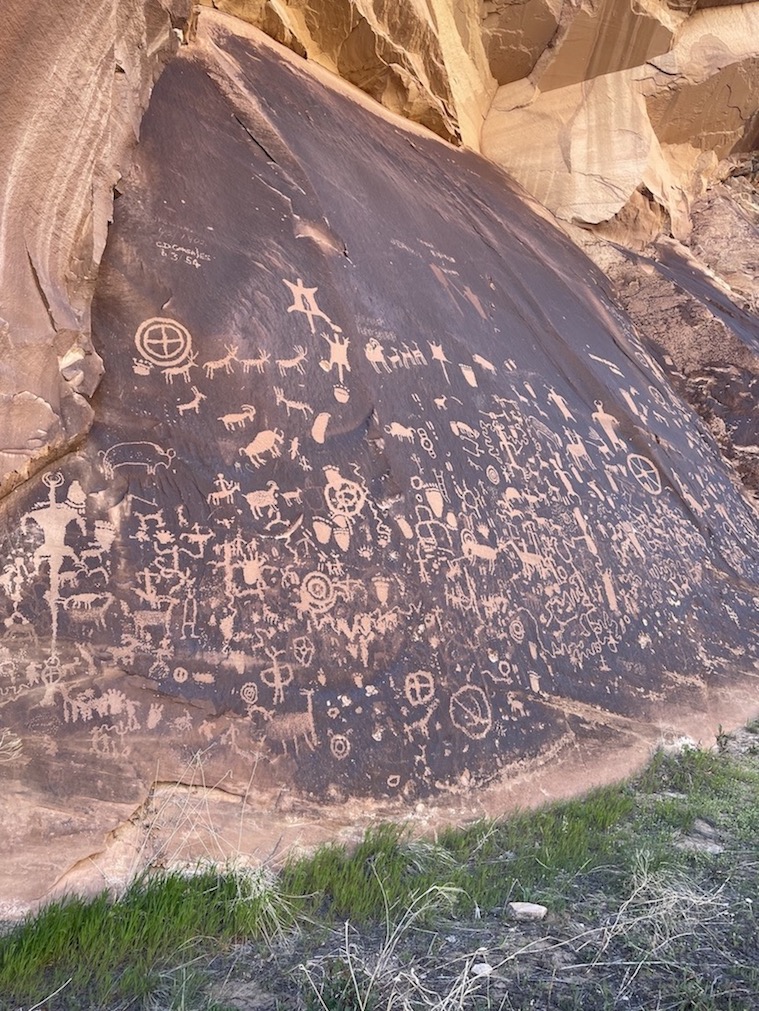
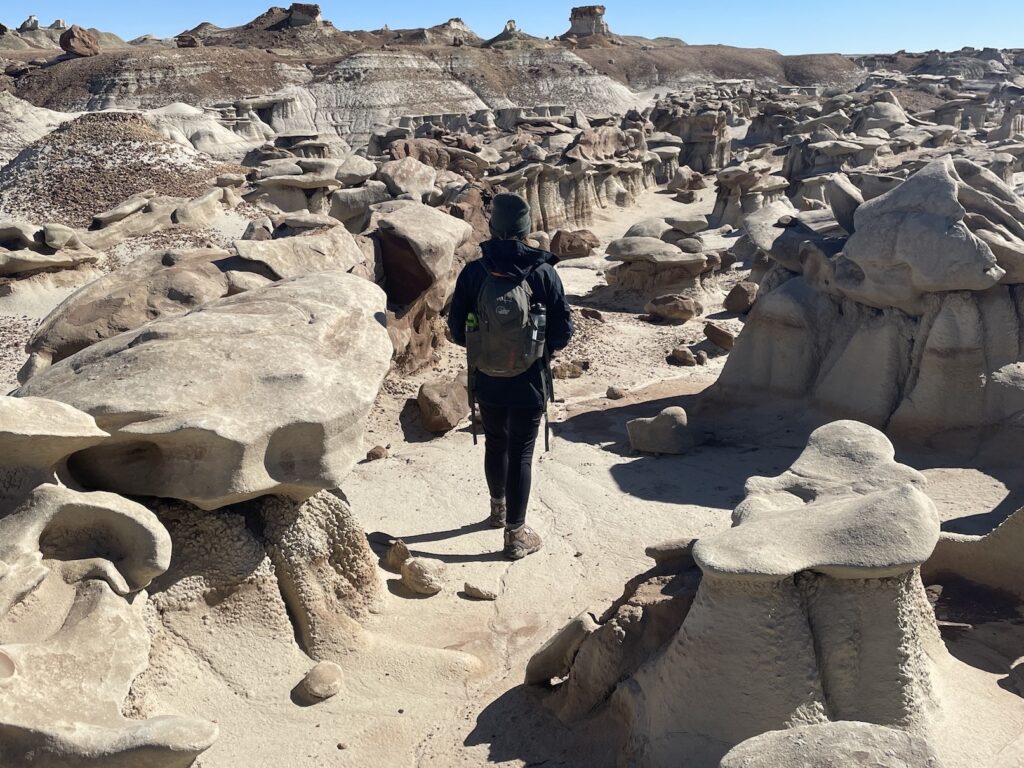
I had already completed all the easy mesa top hikes in the Island of the Sky district, but I wasn’t ready to jump into The Maze yet after my last off-roading experience looking for pictographs in Arizona; my tires needed a break. The Needles district is a great middle ground with some adventurous and moderately challenging day hiking trails through impressive hoodoo rock formations.
Park Service and Trail Report Recommendations
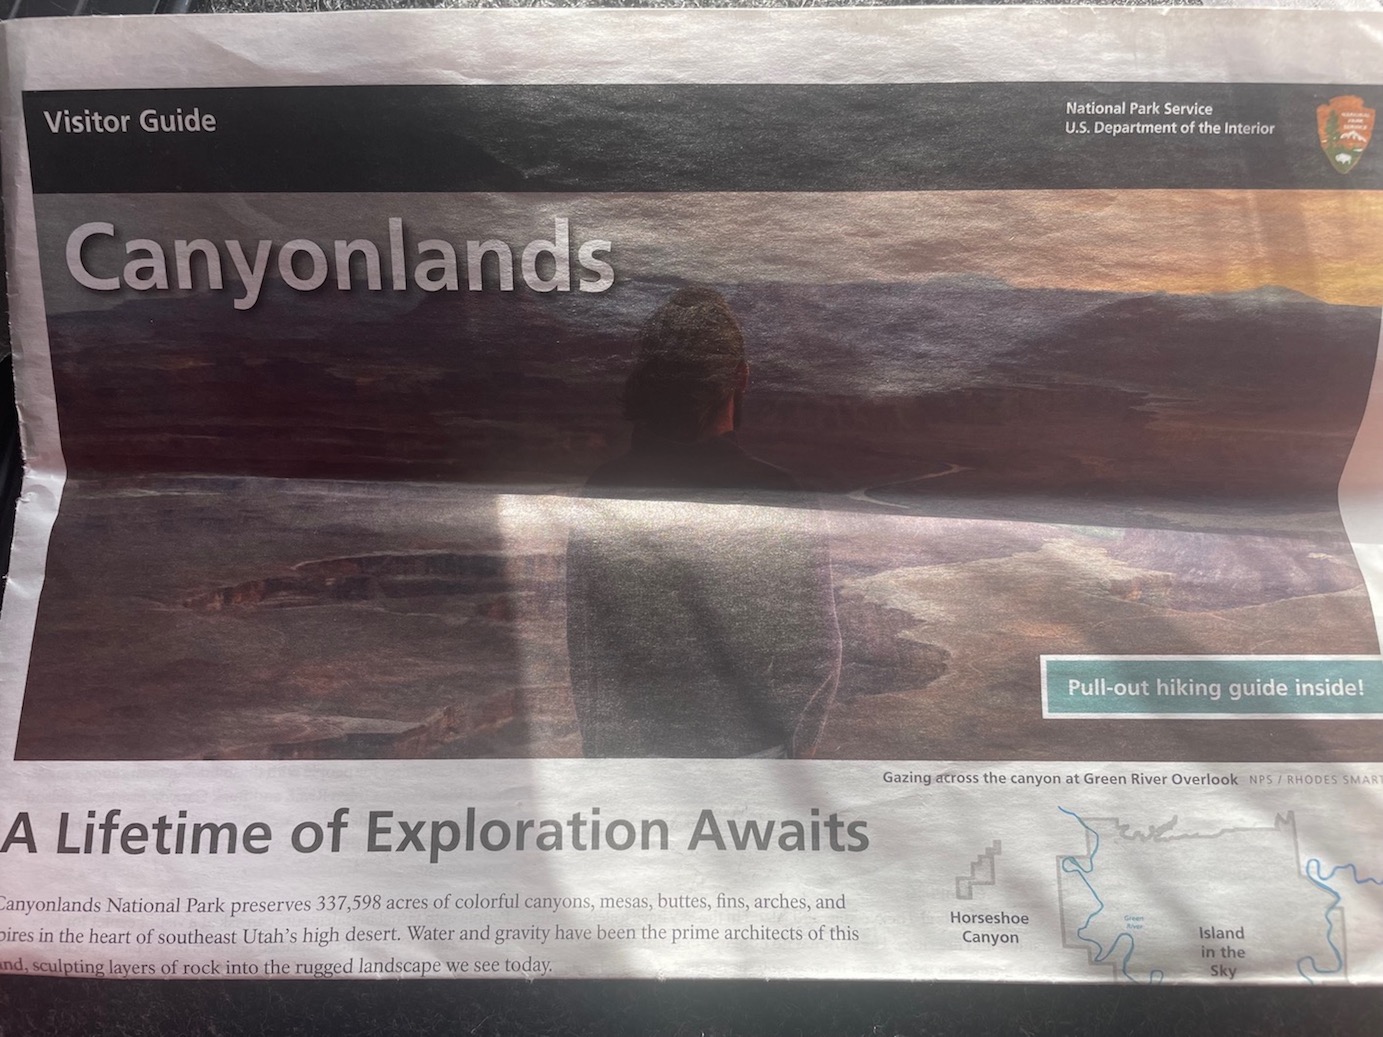
At the various entrance gates to Canyonlands National Park, rangers hand out a visitor guide that looks like a newspaper in addition to the typical unigrid brochures. This newspaper has a pull-out hiking guide with suggestions for easy, moderate, and difficult hikes in each of Canyonlands’ three districts. It’s basically the same as what’s listed on the National Park Service website.
Under the Needles recommendations you’ll find a handful of paths marked “short”, most of which are less than a mile long. The next level is “strenuous”, so they’ve skipped “moderate” entirely. Under “strenuous” the hikes range from 5.8 miles to 11 miles long.

Chesler Park Viewpoint is the 5.8 mile suggestion, and Chesler Park Loop/Joint Trail is a 10.8 mile suggestion. Prior to arriving at the park I had searched for the best hiking trails in Canyonlands National Park on AllTrails and had already made special note of Chesler Park, so I zeroed in on these two routes. Since I had the long drive to and from the Needles and I also wanted to fit other activities into the day, I decided I’d aim for the shorter 5.8 mile trail to the viewpoint instead of doing the entire loop.
If you’re new to Canyonlands National Park, it could be fun to download this self-guided audio driving tour in advance. There is plenty of time to listen with all the driving involved to get around the park.
The Confusion: Chesler Park vs. Chesler Park Viewpoint vs. Chesler Park Loop
The confusion begins with the many place names referencing the word “Chesler”. On the GAIA navigation map, there is a landmark called “Chesler Park” that is marked with a purple star, which seems significant. West of this, there is also another landmark dubbed “Chesler Park Viewpoint” with a binoculars symbol, which you would think is a reference to what the Park Service visitor guide calls Chesler Park Viewpoint on their day hike recommendations list.


As you make your way along Elephant Hill Trail and merge with Chesler Park Trail, you’ll see signs directing you simply towards “Chesler Park”. Only 0.8 miles to go, one of them hints, you’re so close…
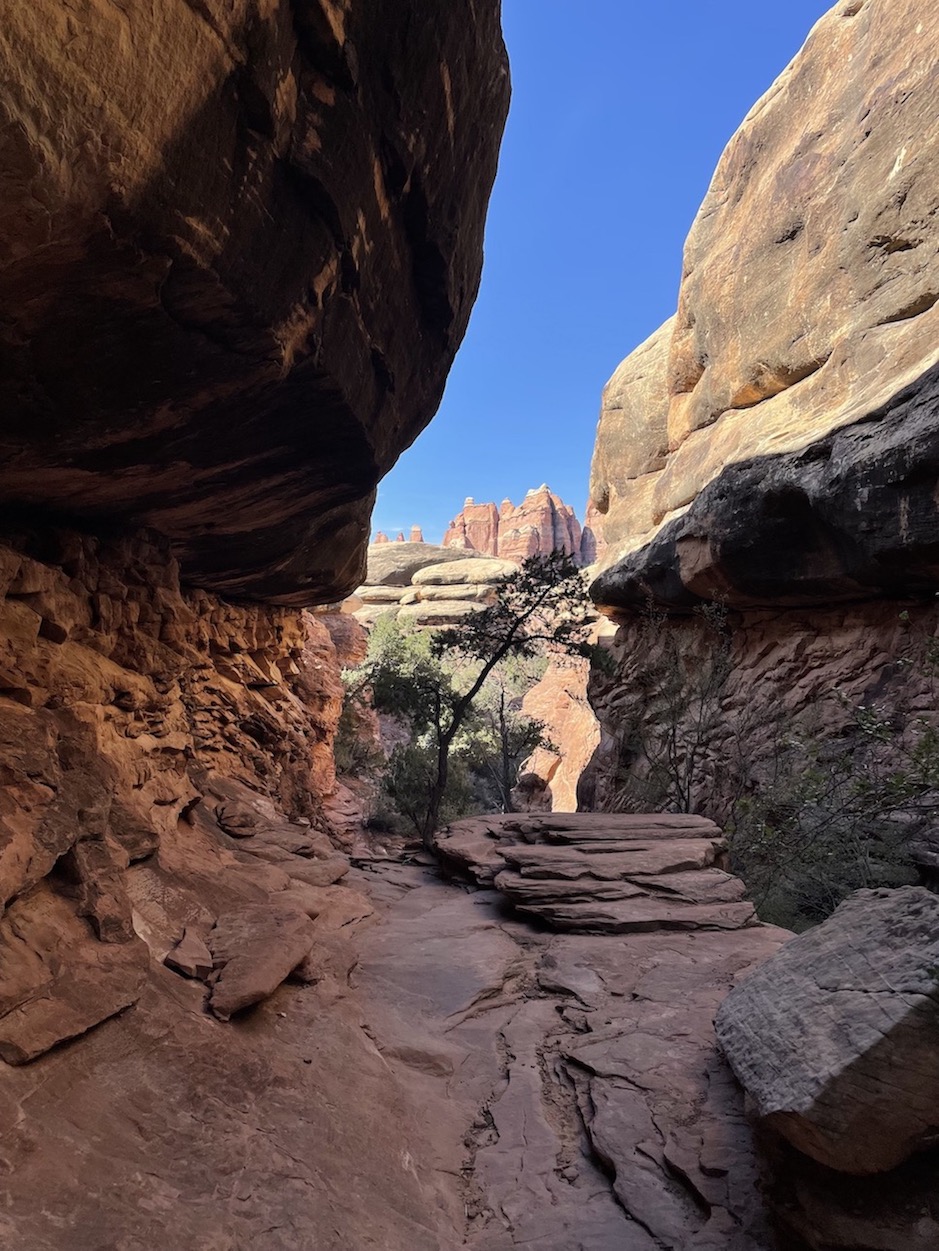
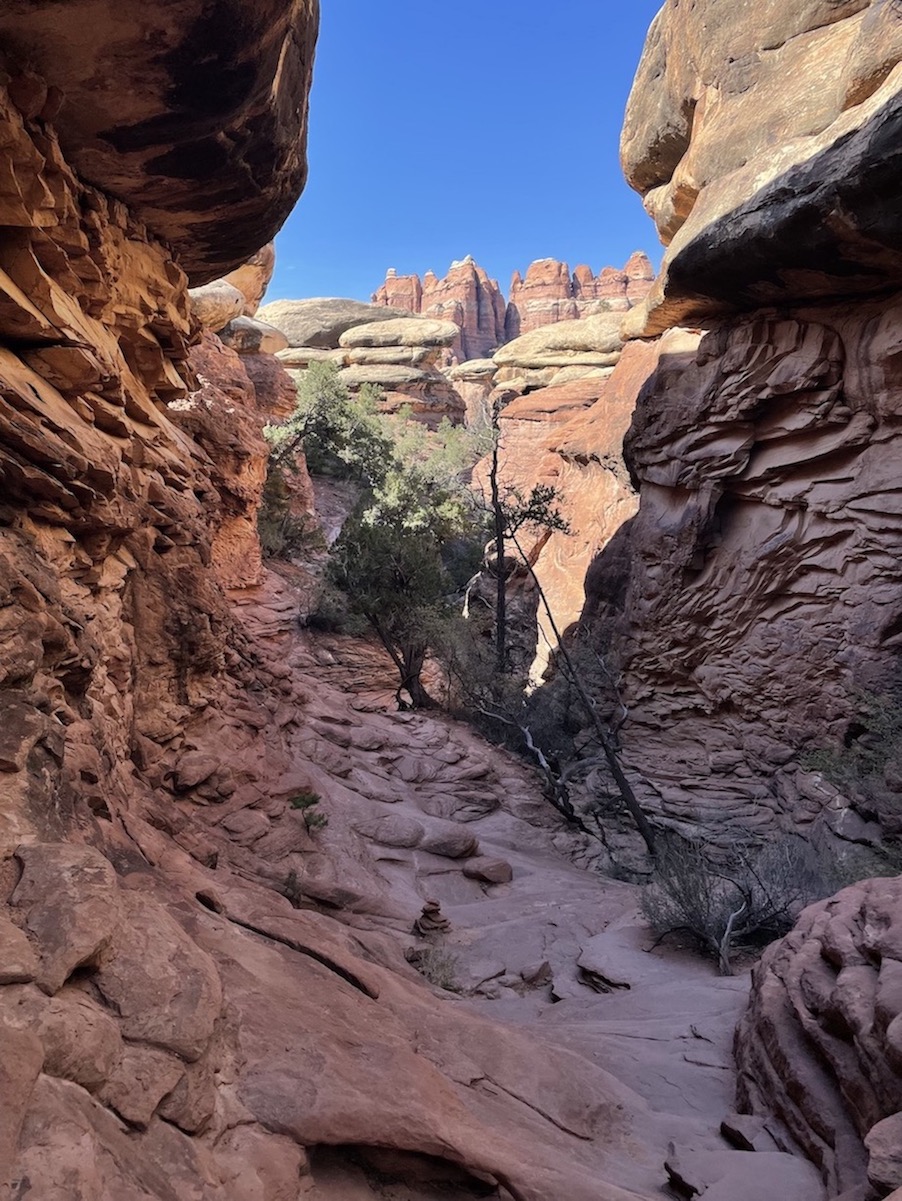
When you finally reach the point all the signs have been teasing you about, it does not match up with either the “Chesler Park” nor the “Chesler Park Viewpoint” landmarks on the topo map. There is a window between two rock walls with a cool view out over the hoodoos, but I thought I must need to continue until I reach one of the landmarks.


I continued to the landmark on GAIA called “Chesler Park”. There’s really not much there. It’s certainly not a viewpoint. A sign marking Chesler Park welcomes you to the pretty, vast meadow it lends its name to, but I was anticipating something more dramatic. Clearly, I thought, the next spot called “Chesler Park Viewpoint” on my topo map must be what that Park Service is calling the Chesler Park Viewpoint in their visitor guide. That has to be the turnaround point on the 5.8 mile out-and-back variation.
By this point I felt like I had come a long way already, so I was not particularly excited to continue another 1.7 miles to Chesler Park Viewpoint. I figured I must be rundown from weeks of hiking throughout Utah. This trail involves some scrambling and it was becoming a hot day, but still, how could I be tired on a 5.8 mile roundtrip hike when I hadn’t even hit the midpoint yet?
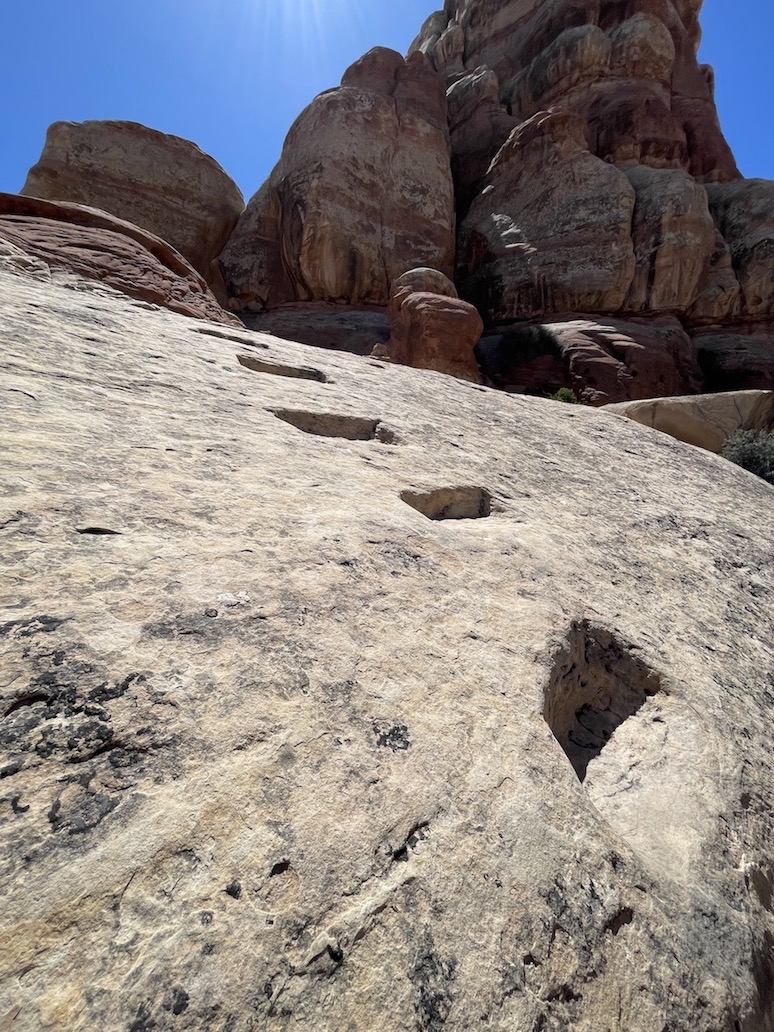
I pushed on across the sandy meadow and then zigzagged down into a rocky canyon, where footholds had been carved into the slickrock leading up to the Chesler Park Viewpoint marked on my topo map. I climbed up, and, more tired than I thought I had a right to be, hoovered down some snacks. While I ate I heard echoes of voices in the canyon and looked around for hikers. I finally found them wedged down into the crack between two giant rock walls, and thought to myself perhaps they are climbers. Or maybe these folks were venturing off-trail? That would not be very Leave No Trace.


I looked at my map a few more times to try to gaslight myself into doing the full loop, which didn’t look that much farther, but I remembered that completing the full loop (more of a lollipop) route would be almost 11 miles total. I must not be understanding the scale of the map. Hot, sweaty, and tired, I began the hike back to the trailhead the same way I came in thinking I was finishing the 5.8 mile out-and-back.
Upon return to my car, I checked my mileage tracker and saw that I had actually hiked 9.4 miles! Now it all made sense. The window in the rock prior to the first Chesler Park sign was the “viewpoint” the whole time.
It would have only been approximately 1.4 additional miles for me to complete the entire loop. I am so annoyed. I read the reviews on AllTrails later to see what the experience of completing the whole loop would have been like, and everyone says that the Joint Trail, which is the last bit I didn’t complete, is the best part of the entire hike. Go figure. The Joint is the big crack in the wall that I heard voices echoing from. It’s a long, badass slot canyon. I hate myself.
Should You Hike the Chesler Park Viewpoint or Chesler Park Loop?
There is an AllTrails route for the viewpoint and another route for the full lollipop. Note people recommend doing the loop counterclockwise.
If you’re reading this you’re already doing more research than I did, so I have faith you’ll make good choices. Obviously the final decision should be made based on the weather forecast and how tired you are. If you reach the real viewpoint and feel satisfied, go ahead and turn around there. If you still have legs and want to continue, do the entire loop. Just don’t do what I did and get right up directly on top of the loop with only a mile left to go, only to turn around instead. The false Chesler Park Viewpoint on the topo map is pretty enough as a destination, I suppose, but at that point you’re so close to The Joint that you might as well just finish it.
Other Chesler Park Trail Variations
This area of the Needles district has many other trails splitting off and forming a big web of options. You can take one spur trail to see Druid Arch, for instance, or head the other direction for Devil’s Kitchen. I would love to come back with an overnight backpacking permit and spend multiple days exploring all the possibilities. That way my time constraints won’t limit my ability to explore new route ideas when I come across something interesting like a cool slot canyon right in front of my face.
Getting to the Trailhead
To get to Elephant Hill Trailhead from Moab is about 2 hours. You’ll take US-191 S for about 40 miles, then turn right onto UT-211 W. From here on out you really need to watch out for free range cattle in the road; I had to slow down multiple times to let them pass. When you drive through the park entrance gate you’ll show your America the Beautiful Annual Parks Pass, or pay $30 per vehicle for 7 days of entry.
When you turn onto Elephant Hill Road, it’s time to kick your vehicle into four wheel drive. The road becomes rough and narrow, but I did fine in my Toyota Tacoma. The speed limit is 15mph. There are some blind curves, and the road is narrow enough that if a car is coming at you from the opposite direction, there will be some awkwardness in trying to figure out how to pass each other. Someone may need to back up until they reach a wider part of the road.
The parking lot was already pretty full when I arrived around 9am, but I found a space immediately. Despite the Needles being generally less crowded than Island in the Sky, it’s still a good idea to get to the trailhead early.
Weather and Trail Conditions


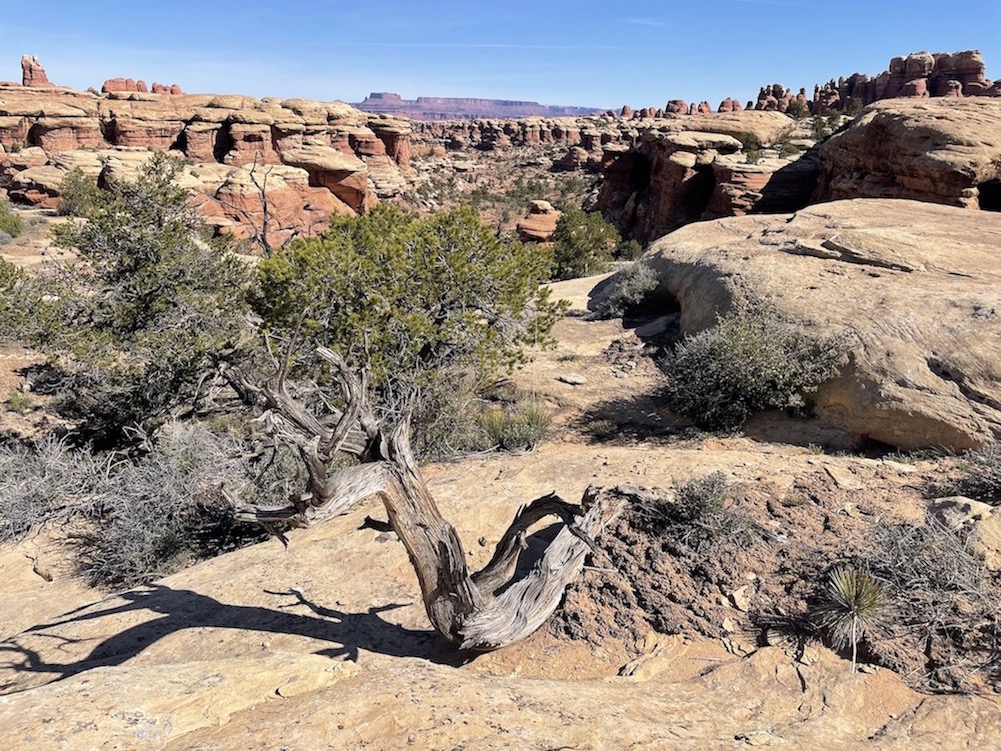
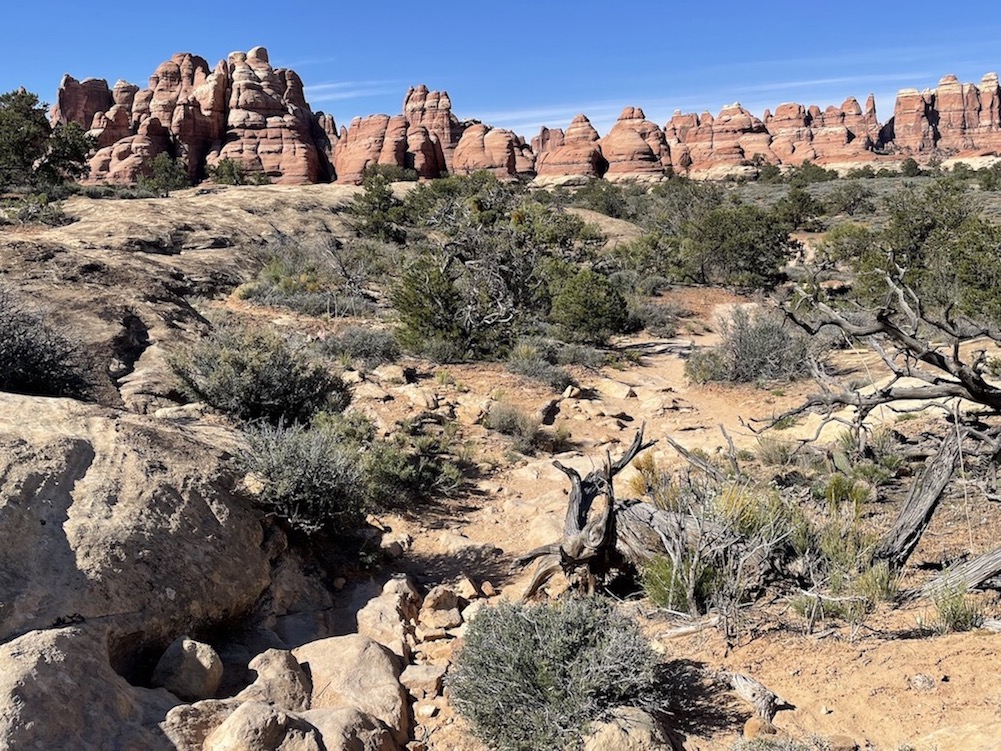
Parking availability aside, you’ll also want to get to the trailhead early if it’s a hot time of year. The trail does have plenty of shady sections, but equally as many exposed stretches. The beginning of the trail is open slickrock, and if you decide to pass the real viewpoint and continue towards the loop, you’ll be in a wide open meadow with no shade for a couple miles. Mid-spring and mid-fall are the best times to hike in the Canyonlands to avoid oppressive heat and slippery snow. I can’t remember seeing any natural water sources, so you’ll want to pack it in.
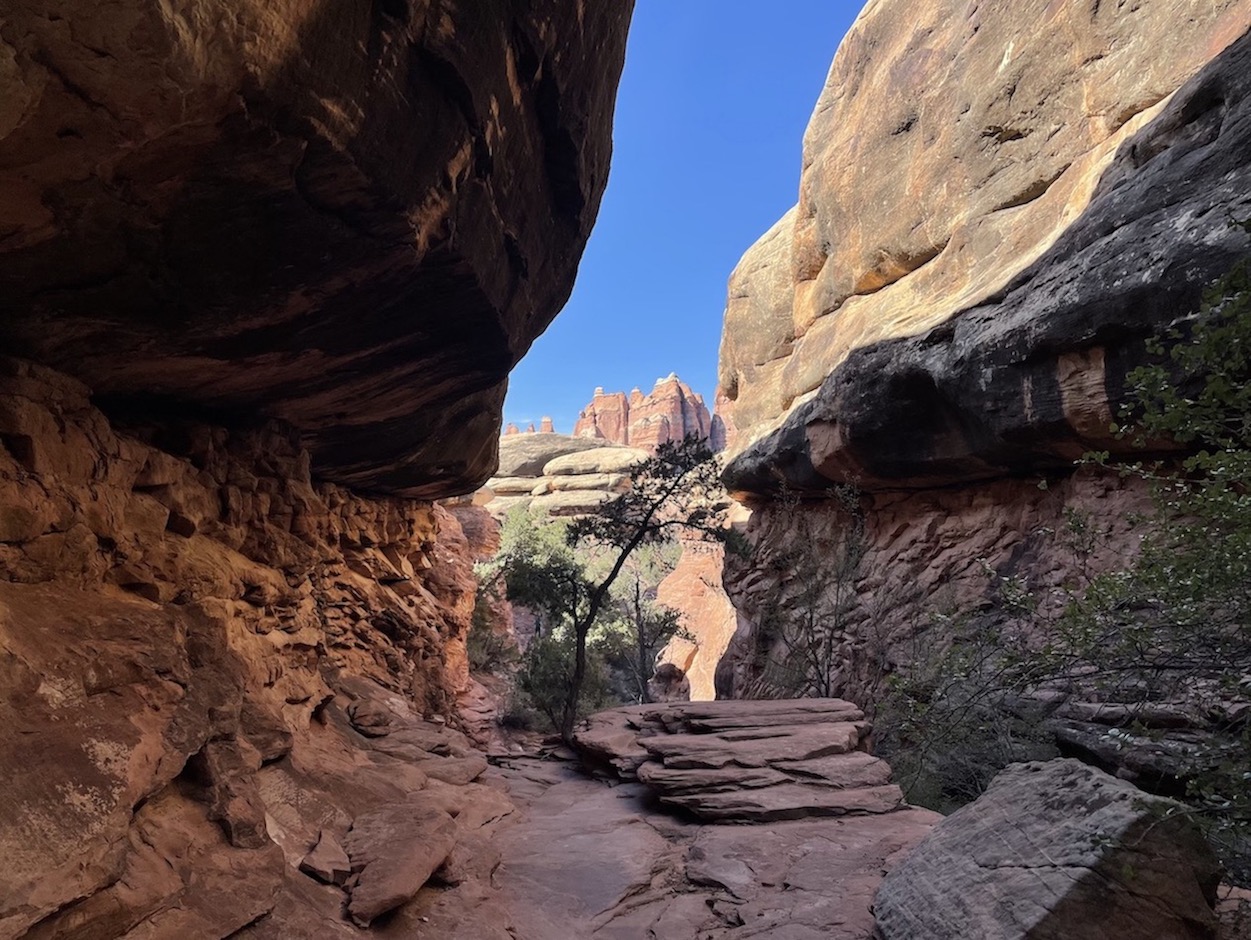
While I saw people of all demographics out on the trail, the Chesler Park hike does require some agility and fitness. You’ll need to get your hands on the rock to help hoist or steady yourself in many sections. I got a full body workout instead of just a leg workout. There is some uphill incline and sand to slow your momentum, so it’s also a good endurance exercise. Even if you don’t go into the Joint slot canyon, there is a cool crack in the wall earlier on in the trail that you’ll still get to walk through (see gallery), but it shouldn’t feel too claustrophobic.
For the portion of the trail that I did, and considering the beautiful weather day I had, there were no sections that scared me as far as precarious cliff drops. I was not afraid of falling, although I did have to make some slow and careful decisions about where to put my feet.
This experience serves as a good reminder that, while downloading offline reference maps is an advisable safety precaution, getting too hung up on following them isn’t a great idea when the physical trail markers are leading you elsewhere (though I’m sure there are some examples of the opposite being true; can you think of any trails where the markers were misleading?).
I promise I’m not always this stupid, but the blog is called The Detour Effect, after all. I do tend to discover the best itineraries and tips through unexpected detours (if I had turned around where I was meant to, I wouldn’t know The Joint slot canyon even exists, but now I know it’s one of the coolest features in the park). If you can avoid making the same mistakes as a result, I’ve done my duty.
🏕️ I found somewhere to car camp for free using The Dyrt. For more advice on basing yourself in this region as a nomad, read my digital nomad guide to Southern Utah.
🏨 Search budget hostels near Moab or standard hotel options in Moab.
✈️ Coming to Utah from further afield? Use an Airalo eSIM for affordable international cell data and don’t forget to protect your investment with travel insurance.
Related:


Pin It:
My dream is to write travel and hiking content full-time. All of my guides and itineraries are free and my travels are self-funded. If you enjoy my site and would like to support, you can donate any amount to my Ko-fi page. Thank you!!
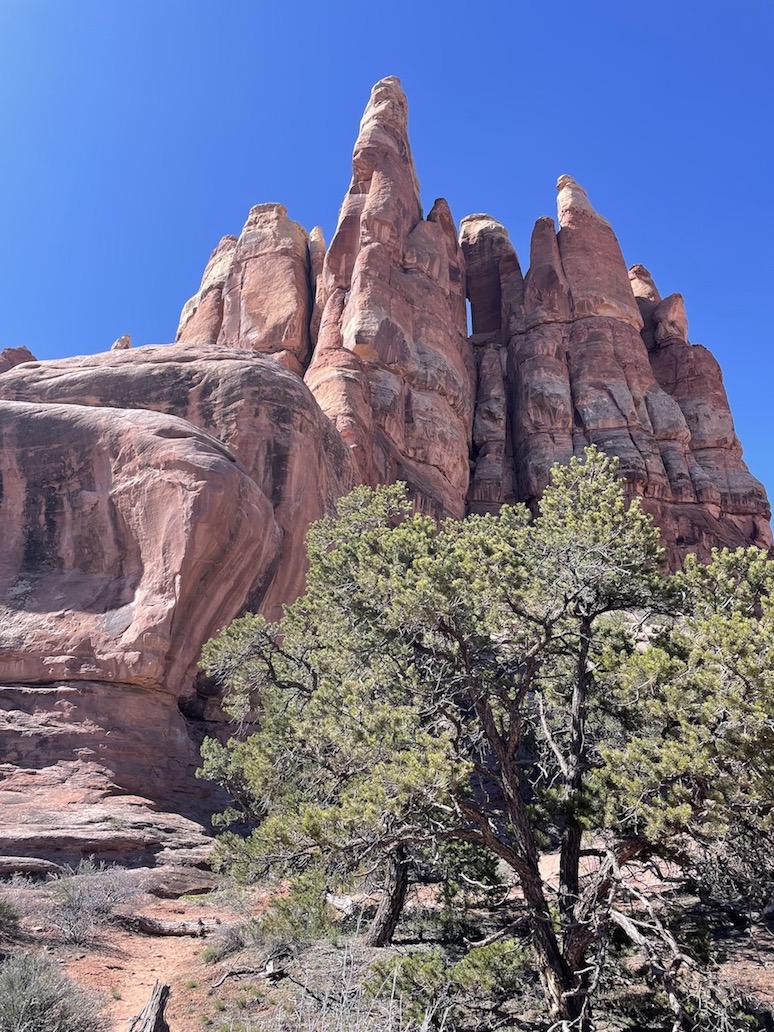
The ‘main trail’ itself was very hard to navigate, where cairns (stacks of rocks) were few and far apart. By the time I saw the mind-blowing rock spires lining up next to each other up-close (that was not even the viewpoint), I was beyond exhausted, both physically and mentally (relentlessly hot in early May!!). To ensure I could make my way back alive, I had no choice but giving up the ‘viewpoint’ and the side trip to Druid Arch.
After the first major descend along a canyon lies the ‘decision point’ – Druid Arch 3 miles, or Viewpoint 0.8 miles. Following the sign of the latter led me to a campground / dead end. Walk across the sand, NOT along the sand after seeing this sign! I am absolutely not a hiker, but the rock scrambling did not seem too hard. My car is a full-size RWD Lexus sedan but had no problems at all getting me to the Elephant Hill trailhead other than going painfully slow due to the extremely coarse road surface and numerous blind curves. This road is a suspension killer, but I will not hesitate to do it again!
Haha sounds like we had similar confusion! But same here, I would totally go back and explore further and I’d love to get a permit for an overnight trip next time, especially now that I know the lay of the land. Glad we both agree that it’s very worth it!